
 Healthcare App Development Services
 Real Estate Web Development Services
 E-Commerce App Development Services
 E-Commerce Web Development Services
 Blockchain E-commerce Development Company
 Fintech App Development Services
 Fintech Web Development
 Blockchain Fintech Development Company
 E-Learning App Development Services
 Restaurant App Development Company
 Mobile Game Development Company
 Travel App Development Company
 Automotive Web Design
 AI Traffic Management System
 AI Inventory Management Software
 AI Software Development
  AI Development Company
  AI App Development Services
  ChatGPT integration services
  AI Integration Services
  Generative AI Development Services
  Natural Language Processing Company
 Machine Learning Development
  Machine learning consulting services
  Blockchain Development
  Blockchain Software Development
  Smart Contract Development Company
  NFT Marketplace Development Services
  Asset Tokenization Company
 DeFi Wallet Development Company
 Mobile App Development
  IOS App Development
  Android App Development
  Cross-Platform App Development
  Augmented Reality (AR) App Development
  Virtual Reality (VR) App Development
  Web App Development
  SaaS App Development
 Flutter
  React Native
  Swift (IOS)
  Kotlin (Android)
  Mean Stack Development
  AngularJS Development
  MongoDB Development
  Nodejs Development
  Database Development
 Ruby on Rails Development
 Expressjs Development
  Full Stack Development
  Web Development Services
  Laravel Development
  LAMP Development
  Custom PHP Development
  .Net Development
  User Experience Design Services
  User Interface Design Services
  Automated Testing
  Manual Testing
  Digital Marketing Services
 Ride-Sharing And Taxi Services
 Food Delivery Services
 Grocery Delivery Services
 Transportation And Logistics
 Car Wash App
 Home Services App
 ERP Development Services
 CMS Development Services
 LMS Development
 CRM Development
 DevOps Development Services
 AI Business Solutions
 AI Cloud Solutions
 AI Chatbot Development
 API Development
 Blockchain Product Development
 Cryptocurrency Wallet Development
 About Talentelgia
  Our Team
  Our Culture
 Healthcare App Development Services
 Real Estate Web Development Services
 E-Commerce App Development Services
 E-Commerce Web Development Services
 Blockchain E-commerce
Development Company
Blockchain E-commerce
Development Company Fintech App Development Services
 Finance Web Development
 Blockchain Fintech
Development Company
Blockchain Fintech
Development Company E-Learning App Development Services
 Restaurant App Development Company
 Mobile Game Development Company
 Travel App Development Company
 Automotive Web Design
 AI Traffic Management System
 AI Inventory Management Software
 AI Software Development
 AI Development Company
 ChatGPT integration services
 AI Integration Services
 Machine Learning Development
 Machine learning consulting services
 Blockchain Development
 Blockchain Software Development
 Smart contract development company
 NFT marketplace development services
 IOS App Development
 Android App Development
 Cross-Platform App Development
 Augmented Reality (AR) App
Development
Augmented Reality (AR) App
Development Virtual Reality (VR) App Development
 Web App Development
 Flutter
 React
Native
React
Native Swift
(IOS)
Swift
(IOS) Kotlin (Android)
 MEAN Stack Development
 AngularJS Development
 MongoDB Development
 Nodejs Development
 Database development services
 Ruby on Rails Development services
 Expressjs Development
 Full Stack Development
 Web Development Services
 Laravel Development
 LAMP
Development
LAMP
Development Custom PHP Development
 User Experience Design Services
 User Interface Design Services
 Automated Testing
 Manual
Testing
Manual
Testing About Talentelgia
 Our Team
 Our Culture
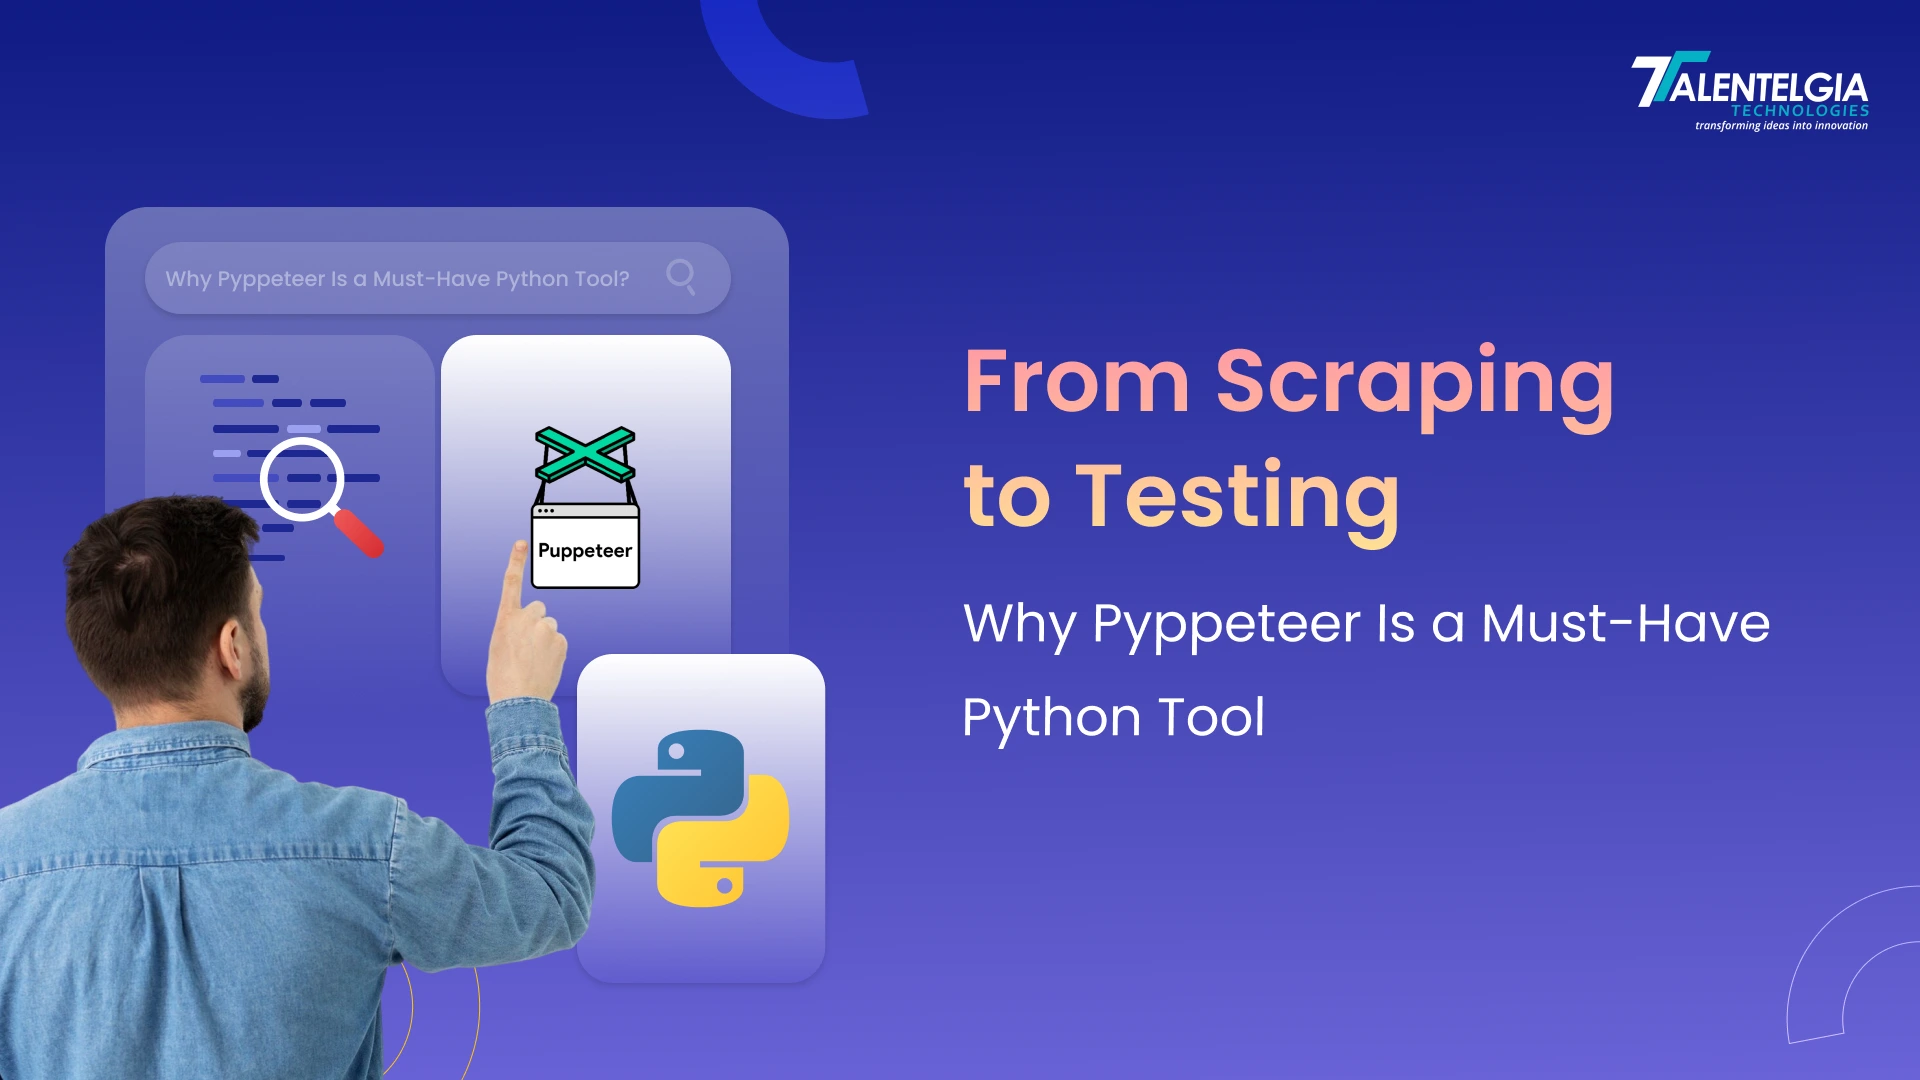
“The best way to predict the future is to automate it.”
When it comes to web development, testing, or data collection, automation can save hours of repetitive work. But modern websites often rely on JavaScript to load content dynamically, making traditional scraping tools like requests or BeautifulSoup less effective. This is where Pyppeteer comes in — a powerful Python library that lets you control a real browser programmatically.
With Pyppeteer, you can navigate websites, click buttons, fill out forms, capture screenshots, and even scrape data from pages that load content dynamically — all without manual effort. Whether you’re a developer, tester, or data analyst, Pyppeteer provides a reliable way to automate tasks while mimicking real user behavior.
In this guide, we’ll cover Pyppeteer’s features, advantages, common errors, and best practices to avoid getting blocked, giving you everything you need to harness its full potential.
Pyppeteer
Pyppeteer is a Python tool that helps you control a web browser using code. Think of it like teaching your computer to open a website, click around, fill out forms, or take screenshots—just like a person would, but automatically.
It’s really helpful for websites that need JavaScript to load properly, because Pyppeteer works like a real browser. It can also run in the background without showing anything on your screen, which makes it faster and great for things like scraping data from websites or testing how a site behaves.
Features of Pyppeteer
- Control the Browser with Python
Pyppeteer lets you open and interact with websites using Python code. You can do things like click buttons, type into search boxes, scroll pages, or even download content—just like a real person browsing the internet. - Headless Mode (No Browser Window Needed)
It can run in the background without showing the actual browser window. This makes it faster and lighter on your system, which is perfect for automating tasks without needing to watch them happen. - Handles JavaScript-Powered Websites
Unlike basic scraping tools, Pyppeteer can fully load and interact with websites that rely on JavaScript. This means you can scrape or test modern websites that show content only after scripts run. - Take Screenshots and Save Pages as PDFs
You can easily capture what a webpage looks like by taking screenshots or saving it as a PDF. This is useful for reporting, documentation, or testing layouts. - Wait for Elements to Load
Pyppeteer allows you to pause actions until certain elements appear on the page. This is great when dealing with pages that take time to load or have dynamic content. - Simulate Real User Actions
You can mimic human actions like moving the mouse, clicking, typing, or even pressing keyboard keys. This makes your automation look more natural to websites. - Built-in Chromium Browser
Pyppeteer comes with its own version of Chromium, so you don’t have to install Chrome separately. It’s ready to use out of the box. - Useful for Testing and Web Scraping
Whether you’re checking how your website performs or collecting data from the internet, Pyppeteer is a reliable tool for both tasks.
Advantages & Disadvantages of Pyppeteer
| What’s Good (Pros) | What’s Not So Good (Cons) |
| You can fully control the browser with Python | Slower than basic scraping tools |
| Works great with websites that use JavaScript | Uses more memory and system resources |
| Can run invisibly in the background (headless) | Might break if the browser version changes |
| Feels like a real user browsing the site | Not officially supported by Google |
| Can take screenshots or save pages as PDFs | Bigger installation due to the built-in browser |
What is the Use of Pyppeteer?
Pyppeteer is used to automate web browsing tasks using Python. In simple words, it helps your computer do things on a website—like clicking buttons, typing in forms, scrolling, or taking screenshots—without you having to do them by hand.
Here’s how people commonly use it:
- Scraping Information from Websites
Pyppeteer is perfect for collecting data from websites, especially ones that load content with JavaScript. It works like a real browser, so it can access everything on the page. - Testing Websites Automatically
Developers use it to test if their websites work properly. It can check if buttons work, if forms submit, or if pages load the way they should—all without manual clicking. - Capturing Screenshots or PDFs
Want to save how a webpage looks? Pyppeteer can take screenshots or turn a web page into a PDF with just a few lines of code. - Filling Out Forms Automatically
It can also fill in forms and submit them, which helps automate tasks like registrations or surveys. - Keeping an Eye on Webpages
You can use Pyppeteer to regularly visit a site and look for changes—like price updates, new posts, or errors. - Simulating Real User Behavior
Pyppeteer can move the mouse, type slowly, or click like a real person. That makes it great for creating bots that need to look and act human.
In short, Pyppeteer helps you automate boring or repetitive tasks on websites, saving you a lot of time and effort.
Pyppeteer is a super useful tool for anyone using Python who wants to interact with websites in a smart, automated way. These days, many websites load content using JavaScript, and regular Python tools like requests or BeautifulSoup can’t always handle that. That’s where Pyppeteer comes in.
Pyppeteer: Why It Matters for Python Users
With Pyppeteer, you can control a real web browser (like Chrome) using Python code. You can open a webpage, wait for things to load, click buttons, type in search boxes, and even grab data from the site—just like a human would.
For Python developers, Pyppeteer is helpful for:
- Scraping data from websites that use JavaScript
- Testing how websites behave by mimicking real user actions
- Automating tasks like filling out forms or taking screenshots
- Building bots that act like real people online
Even though the original version (Puppeteer) was built for Node.js, Pyppeteer brings those same powerful features to the Python world. That makes it a really handy tool for developers who want to work with modern websites using just Python.
Also Read:- Best Python Frameworks For Web Development
How to Use Pyppeteer
Using Pyppeteer is all about automating browser tasks with Python. Whether you want to scrape data, take screenshots, or test how websites behave, Pyppeteer gives you the ability to control a browser just like a real user would.
Let’s walk through the basic steps to get started — from installing it to performing real browser automation, including dynamic content handling and login automation.
1. Install Pyppeteer
Before using Pyppeteer, make sure to check the Python version, ensure that to have Python 3.6 or higher installed on your system.
Once that’s done, open your terminal or command prompt and install Pyppeteer by running the following command:
pip install pyppeteerThe first time you run Pyppeteer, it will automatically download Chromium (a lightweight version of Chrome used for automation). This download may take a few minutes — it’s around 150MB, so don’t worry if it seems to pause for a bit.
Once installed, Pyppeteer will be ready to help you control the browser programmatically!
2. Basic Usage Example
Let’s start simple. Below is a basic example that opens a webpage, waits for it to load, and then closes it:
import asyncio
from pyppeteer import launch
async def scraper():
    browser = await launch({"headless": False})
    page = await browser.newPage()
    await page.goto("https://www.scrapingcourse.com/ecommerce/")
    await browser.close()
    asyncio.run(scraper())
Here’s what’s happening:
- We import the necessary modules and launch a browser instance.
- The “headless”: False option ensures you can actually see the browser as it works.
- The script then navigates to the provided URL and closes the browser afterward.
This simple example proves how easy it is to start automating browser actions with just a few lines of Python code.
3. Scrape Page HTML
Once the page is loaded, you might want to access its HTML content — especially if you’re planning to scrape data from it. With Pyppeteer, this can be done effortlessly:
htmlContent = await page.content()
print(htmlContent)
This command grabs the complete HTML source of the currently loaded webpage, including content generated by JavaScript. It’s particularly useful for scraping modern websites where traditional tools like BeautifulSoup alone can’t capture dynamic content.
4. Extract Specific Data (Like Titles and Prices)
Now that we have the page loaded, let’s move to something more practical — extracting specific data such as product names or prices.
Pyppeteer lets you interact with the Document Object Model (DOM) just like a browser would. You can use CSS selectors to pinpoint elements and fetch their values.
products = await page.querySelectorAll("li.product")
for product in products:
    title_el = await product.querySelector("h2")
    title = await title_el.getProperty("textContent")
    price_el = await product.querySelector("span.price")
    price = await price_el.getProperty("textContent")
    print(f"Title: {await title.jsonValue()} || Price: {await   price.jsonValue()}")
In this example:
- We locate all the product items using “li.product”.
- For each product, we extract the title and price.
- Finally, we print both values in a readable format.
This kind of structured data extraction is where Pyppeteer really shines.
5. Handle Dynamic Pages
Many modern websites load new content dynamically — either when you scroll or after certain elements finish rendering.
Pyppeteer helps you handle this gracefully using wait commands, so your script only moves forward once the content is ready.
Wait for a few seconds:
await page.waitFor(4000)Wait for a specific element to load:
await page.waitForSelector(“div.product-grid”, {“visible”: True})
Using these commands ensures that your scraper doesn’t miss out on data that appears with a delay. It mimics how a human user would wait for the page to finish loading before interacting with it.
6. Click Elements
Web automation isn’t just about reading data — sometimes, you need to interact with the site, such as clicking buttons or opening product pages.
Here’s how to simulate a click on the first product image:
products = await page.querySelectorAll("img.product-image")
await products[0].click()
After clicking, make sure to wait for the next page or element to load before proceeding.
This feature is extremely helpful for multi-step scraping or testing navigation flows on a website.
7. Scroll to Load More Content
If you’ve ever been on an e-commerce or social media site, you’ve probably seen infinite scrolling, where new data loads as you scroll down.
Pyppeteer can easily handle that too:
Scroll once:
await page.evaluate("""{window.scrollBy(0, document.body.scrollHeight);}""")Continuous scrolling:
while True:
    current_height = await page.evaluate("document.body.scrollHeight")
    await page.evaluate("window.scrollBy(0, document.body.scrollHeight)")
    await page.waitFor(4000)
    new_height = await page.evaluate("document.body.scrollHeight")
    if new_height == current_height:
        break
This approach ensures you capture all the content, even if it loads dynamically as you scroll — ideal for scraping product listings or social feeds.
8. Take a Screenshot
Sometimes, it’s helpful to see what your browser is doing. Pyppeteer lets you capture screenshots at any stage of automation.
await page.screenshot({"path": "web_screenshot.png"})This saves a snapshot of the current view in your working directory.
You can even capture full-page screenshots to visualize how a page renders for automated testing or debugging purposes.
9. Use a Proxy
When scraping websites at scale, using a proxy helps protect your IP and avoid getting blocked.
Pyppeteer supports proxies easily during browser launch:
browser = await launch({
    "args": ["--proxy-server=<PROXY_IP>:<PROXY_PORT>"],
    "headless": False
})
page = await browser.newPage()
await page.authenticate({"username": "your_username", "password": "your_password"})
This way, your browser requests appear to come from a different location, improving anonymity and access reliability. It’s a common best practice in ethical web scraping.
10. Automate Login
A very common use case for Pyppeteer is automating login on websites.
Here’s how you can fill out login credentials and sign in programmatically:
await page.goto("https://www.scrapingcourse.com/login")
await page.type("#email", "admin@example.com")
await page.type("#password", "password")
await page.click("button.btn.submit-btn")
await page.waitFor(5000)
await page.screenshot({"path": "logged_in.png"})
In this example, the script:
- Opens the login page.
- Type in the email and password.
- Clicks the login button.
- Waits for the next page to load and captures a screenshot.
This is perfect for testing login systems, automating account checks, or scraping data behind authentication.
Common Errors While Using Pyppeteer
Even though Pyppeteer is a powerful automation tool, beginners often run into a few common errors while setting it up or using it for scraping and browser automation. These issues usually happen due to configuration mistakes, missing dependencies, or how websites behave dynamically. Let’s go through some of the most frequent errors and how you can fix them.
1. Chromium Download Error
Error Example:
pyppeteer.errors.BrowserError: chromium executable is not found
Why it happens:
This error occurs when Pyppeteer fails to download or locate the Chromium browser. It usually happens during the first installation or if your internet connection was unstable while downloading.
How to fix:
Try reinstalling Pyppeteer using:
pip uninstall pyppeteer
pip install pyppeteer- Run this command to manually download Chromium:
python -m pyppeteer.install - If you’re in a restricted network (like a company firewall), use a VPN or proxy to allow the download.
2. Event Loop Already Running (in Jupyter Notebooks)
Error Example:
RuntimeError: This event loop is already runningWhy it happens:
Pyppeteer relies on asyncio, and Jupyter Notebooks or interactive environments already run an event loop in the background, causing conflicts.
How to fix:
Replace asyncio.run() with a workaround using the nest_asyncio library:
import nest_asyncio
nest_asyncio.apply()
await scraper()
This allows Pyppeteer to run smoothly inside notebooks or other async environments.
3. TimeoutError: Navigation Timeout Exceeded
Error Example:
pyppeteer.errors.
TimeoutError: Navigation Timeout Exceeded
Why it happens:
Pyppeteer gives each page a limited time (usually 30 seconds) to load. If the website is slow, has redirects, or blocks bots, it may take longer, causing this timeout.
How to fix:
Increase the timeout limit:
await page.goto("https://example.com", {"timeout": 60000})- Use waitUntil to ensure the page is fully loaded:
await page.goto(“https://example.com”, {“waitUntil”: “networkidle2”}) - If scraping, consider using proxies or adding delays between requests.
4. Element Not Found (QuerySelector Returns None)
Error Example:
AttributeError: 'NoneType' object has no attribute 'querySelector'Why it happens:
Pyppeteer can’t find the element you’re trying to select — usually because it hasn’t loaded yet or your CSS selector is incorrect.
How to fix:
- Double-check your CSS selector in Chrome’s Inspect Element tool.
- Use await page.waitForSelector(“your_selector”) before querying the element.
- Add a short delay using:
await page.waitFor(3000)
to give the page time to load.
5. Page Crash or Browser Closed Unexpectedly
Error Example:
pyppeteer.errors.
BrowserError: Browser closed unexpectedly
Why it happens:
This happens when Chromium runs out of memory, crashes due to too many tabs, or if antivirus/firewall software blocks it.
How to fix:
- Close unnecessary tabs or background processes.
- Try launching in headless mode:
browser = await launch({“headless”: True}) - Disable sandbox mode (for Linux systems):
browser = await launch({“args”: [“–no-sandbox”]}) - If the problem persists, reinstall Pyppeteer or update your Python version.
6. Slow Performance or High Memory Usage
Why it happen?
Pyppeteer controls a real browser, which means it consumes more memory than simple HTTP libraries. If you run many instances or open too many tabs, performance can drop.
How to fix:
- Use headless=True to improve speed.
- Close pages when done:
await page.close() - Reuse the same browser instance for multiple tasks instead of reopening it every time.
7. Permission Denied or Network Errors
Why it happen:
Sometimes your system or antivirus blocks Chromium from accessing the internet, or your proxy configuration isn’t set correctly.
How to fix:
- Ensure your proxy or VPN setup is correct.
- Run your script as an administrator (Windows) or use sudo (Linux).
- Temporarily disable antivirus or firewall to check if it’s blocking Chromium.
Most Pyppeteer errors are easy to fix once you understand what’s causing them. Always start by checking the error message carefully — it usually gives a good clue about what went wrong. Using proper waits, valid selectors, and good system configuration can prevent 90% of these issues.
With a little practice, you’ll find Pyppeteer stable, powerful, and one of the best tools for browser automation in Python.
Caution: Avoid Getting Blocked using Pyppeteer
When using Pyppeteer for automation or web scraping, one of the biggest challenges developers face is avoiding detection. Many websites today use anti-bot mechanisms that can easily identify automated tools. If your actions look too robotic, you may end up getting blocked or encountering CAPTCHAs.
To prevent this, it’s important to make your automation appear as natural as possible. Here’s how you can do that effectively:
- Add human-like delays: Instead of executing commands instantly, introduce small, random pauses between actions. For example, waiting a few seconds before clicking or scrolling makes your behavior look more real.
- Use proxies and rotate IPs: When performing multiple requests, avoid using a single IP address. Rotating proxies helps distribute requests and reduces the risk of bans.
- Vary your actions: Websites track repetitive patterns, so changing the order and timing of clicks, scrolls, or form submissions can help you stay under the radar.
- Set proper user agents and headers: Make sure your browser identifies as a normal Chrome or Firefox instance. This helps prevent detection by basic bot filters.
- Limit scraping frequency: Instead of sending hundreds of requests at once, space them out to prevent overwhelming the server.
- Respect site policies: Always check a site’s robots.txt file and follow its terms of service to avoid unethical data extraction.
By implementing these precautions, you can make your Pyppeteer automation smoother, safer, and less likely to trigger website defenses — ensuring consistent, reliable results without getting blocked.
Conclusion
Pyppeteer is one of the most powerful tools Python developers can use for browser automation, testing, and web scraping. It bridges the gap between simple scraping libraries and real browser behavior, allowing you to interact with websites exactly like a human would — from clicking buttons and filling forms to handling JavaScript-heavy pages.
Its ability to run in headless mode, take screenshots, and handle complex dynamic content makes it perfect for both developers and data enthusiasts. However, because it operates like a real browser, it also requires more system resources and careful handling to avoid being detected or blocked by websites.

In short, Pyppeteer brings the full power of modern web automation into the Python ecosystem. Whether you’re testing your web application, gathering data, or automating repetitive online tasks, Pyppeteer offers the flexibility, control, and performance needed to do it efficiently — all through simple Python code.


 Write us on:
  Business queries:
  HR:
HR: 


